A2 Hosting is one of the fastest and also a best web hosting provider companies. If you want to keep your website as fast as possible then I highly recommend you to buy hosting from A2 Hosting.
Their servers are insanely fast! And I assure that your website will run fast and smooth on A2 Hosting. If you have not already purchased hosting from them.
Then you can get 50% Discount on A2 Hosting plans by following this link. This link provided here is a discounted link.
If you are looking for a guide online which will help you to enable leech protection in A2 Hosting. Then let me tell you that you have been landed on the right page here.
Because in this guide of mine, I will tell you the steps which you need to follow to enable leech protection in A2 Hosting.
But before we proceed to the further part of this guide. I would like to tell you what exactly leech protection is read it below.
What is Leech Protection?
When users publicly post their username and password, unauthorized visitors can use their credentials to access secure areas of your website. This practice is known as leeching.
cPanel provides protection against leeching by limiting the number of times that a user can access a secure area of your website within a two-hour period. For example, you can limit users to four logins over a two-hour period. If users exceed the login limit, you can redirect them to another URL, send an alert e-mail, or even disable their account.
How to Enable Leech Protection in A2 Hosting?
So now let us get started with the guide and check out how you can enable leech protection in A2 Hosting.
The steps are very simple, read it to know them.
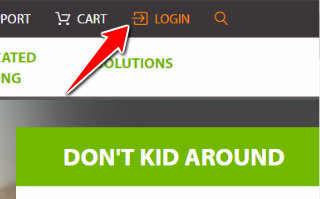
- The first thing which you have to do is visit www.a2hosting.com
- Enter your Email Address and Password of your A2 Hosting account.
- Once you enter it correctly you will be taken to the client area of your A2 Hosting account.
- Now you will get quick cPanel Login section on your screen.
- Click on Login button of your hosting package for which you want to enable it.
- When you click on Login you will be taken to the cPanel of your hosting account.
- Look for the security features in the cPanel, and in those features, you will find leech protection click on it.
- Now you will get all the directories of your hosting account.
- Select the folder or directory and follow the on-screen instructions.
These are the steps which you need to follow to enable leech protection in A2 Hosting. If you have any doubts or questions in your mind then you can comment below.


